Tuesday, October 27, 2015

Tutoring Week 4

This week for tutoring I moved onto initial s blends. I decided to focus on three, sl, sn, and st. I did a sort using those three blends, I got little buckets from Dollar Tree (I got 5 for a dollar) I taped each blend to the front of the bucket. I got different pictures from clip art that contain my initial s blends. My tuttee would pick a picture, say the word, then sort it into which bucket it belonged. I also decided I wanted to incorporate play doh into my activity, he loves sensory type materials like the sand I used last week. Once he sorted the word he would use stamps and stamp the word into play doh. He absolutely loved it! Once again he wanted to take the play doh home with him! He would pick his picture, say the word, sort it into the bucket and then pick out which letter stamps he needed to spell his word. It was awesome hearing him sound out the words and connect that to which stamps he needed to spell his word. Here are some pictures of the activity!


I used a pencil case to put the play doh in to keep everything clean! It was the same pencil case I used last week for my sand I got it at target for 97 cents! The stamps I got from Michaels with a coupon!


Wednesday, October 21, 2015

Learning at Home Bag

For my families class this semester we have to create at learning at home bag that we would send home for children to do with their families. We had to pick a non fiction book and a topic to focus on. Since I did a magnetic investigation box last year for my science class I decided to save money and reuse magnetic items I already had! I chose the book What Makes a Magnet by Franklyn M. Branley. I created an activity for math, science, and literacy that all related to magnets.

For math I used large colored Popsicle sticks and magnet tape. I used a sticker for the number on the bottom, the child will use paper clips on the Popsicle sticks to complete addition problems. Here are some pictures!


I used pencil cases from the dollar store to keep all 3 activities separated and organized in the bag!

For my science activity I created a magnetic and non magnetic table and included specific items for the child to investigate. If the item is magnetic the child will color in the smiley face, if it is non magnetic they will color in the frowney face. 

For my literacy activity I created an activity that uses magnetic letters and a cookie sheet. I gave letters that will be used to spell a word and a picture. The child will use the magnetic letters on the cookie sheet to spell words. Magnetic letters are also great to send home because families can create words, sentences, etc on the fridge and it is a simple activity! 


Tuesday, October 20, 2015

Tutoring Week 3

This week for tutoring was that last week that we were doing short vowel CVC words. I decided to do a review of all the short vowels together. My activity this week was a table of pictures of words with CVC short vowels. The columns and rows were numbered. My tutee would roll to large foam di (that I got at Dollar Tree) the first number he rolled would stand for the column and the second for the row. He would find the corresponding picture and then write that word in sand. I used a pencil box and poured sand into it, then he used the eraser end of a pencil to write the word in the sand. He LOVED it he was begging me to let him take the sand home with him! Here are some pictures of my activity and links to the CVC short vowel table of pictures that I used!


Sunday, October 4, 2015

Tutoring Week Two

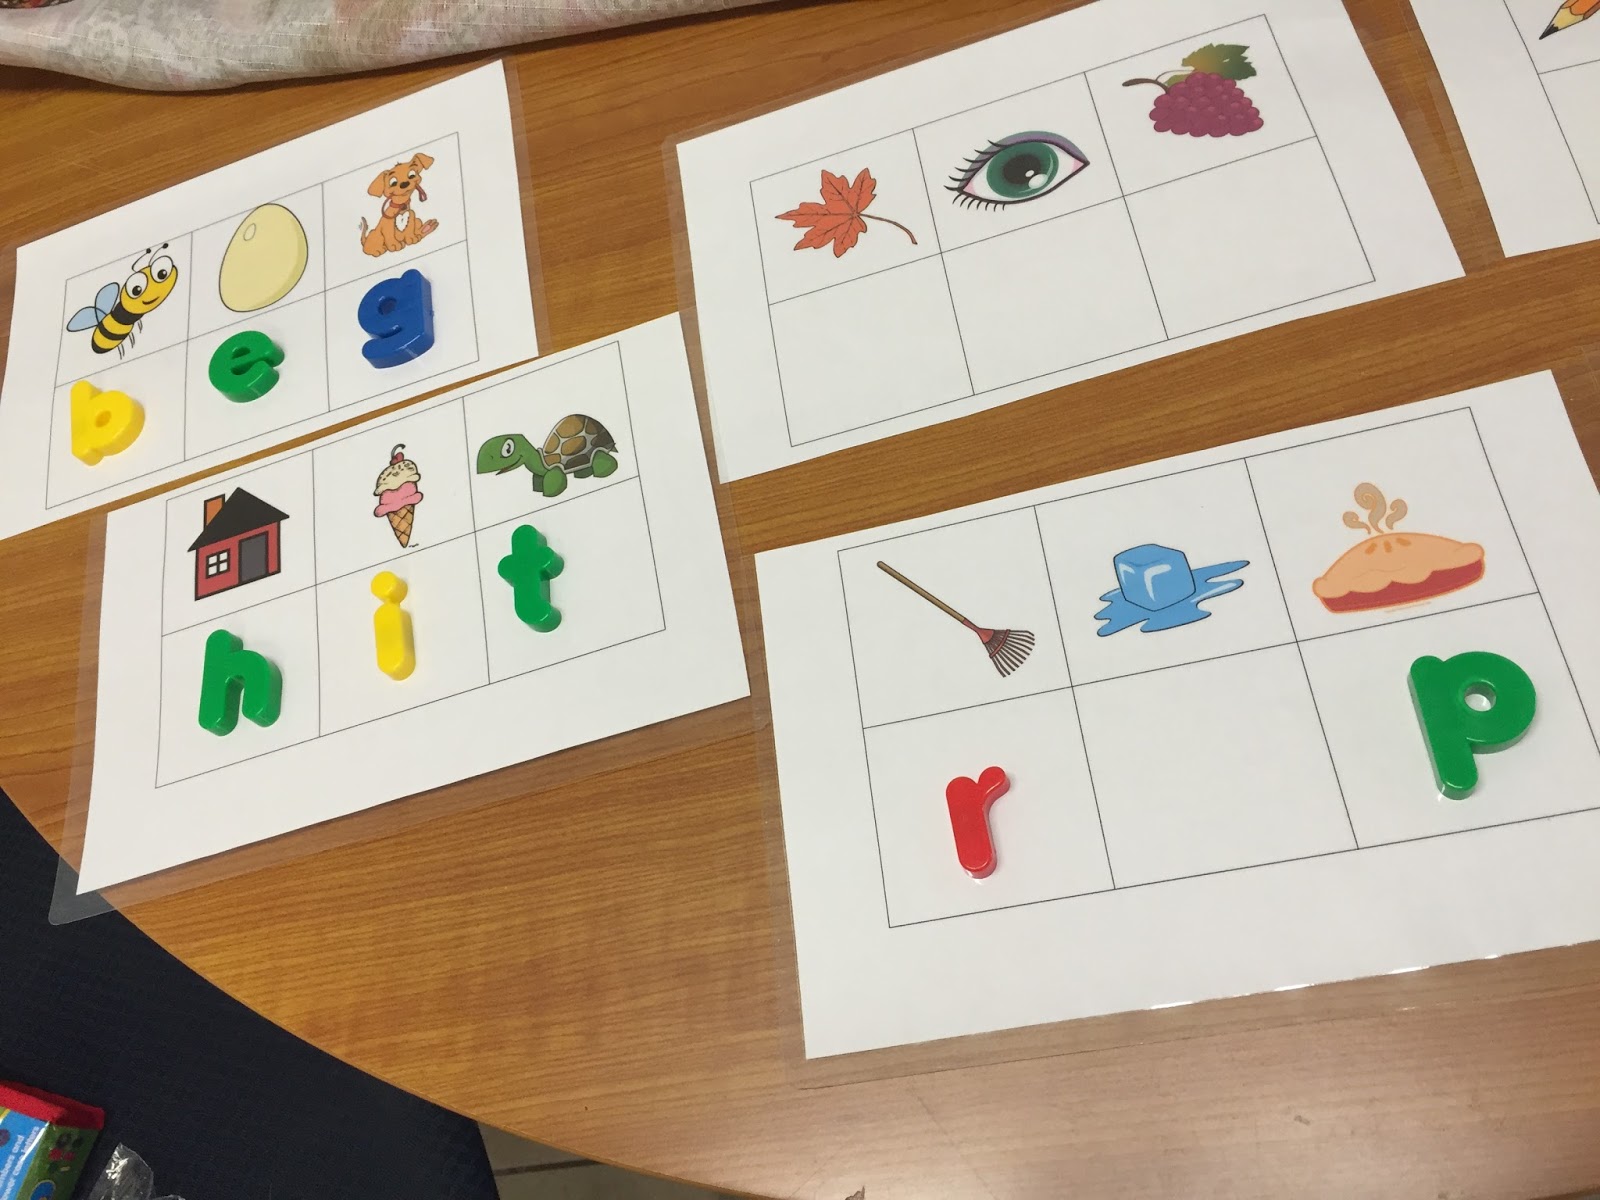
This week for tutoring I will be doing CVC words again, but this week I will be focusing on short e and short i. The activity I am doing is called Mystery Words, I got the idea from Miss Giraffe's Class. My tutee will look at the pictures on the table and decide what the first letter of each picture is. Then he will put a magnetic letter under the picture, the first letter of each picture will make the mystery CVC word with a short e or short i. Then, like last week he will write the CVC word on the CVC word table, which he really enjoyed last week so I wanted to incorporate it again. He got so excited about it last week he begged me to be able to take it home with him. He asked me if I was going to be coming back to tutor him every day because he loved it, it made my heart so happy! Below are pictures of my activity and I will post links for the mystery word tables!


Some new leveled books I will be using this week!

Thursday, September 24, 2015

KSRA MEMBERSHIP!!

Here are the directions to renew/get a KSRA membership!
1. Open this link, Undergraduate Letter, go to the second page which is the letter to prove we are undergraduates at Shippensburg.
2. Print out the letter, fill your name in the blank, scan it back onto your computer (or take a picture of the letter and put it on your computer)
3. Go to this link, Online Membership, fill out the membership form.
4. Under Student Membership Confirmation, upload the letter that you took a picture of or scanned onto your computer.
5. You will have to pay a fee of $15.

If you have any questions email me at tm0644@ship.edu or Kate at ke3923@ship.edu


Wednesday, September 23, 2015

Tutoring Week 1

Next Tuesday I have my first day of tutoring! I got assigned a first grader and we will be working on CVC words with short vowels! This first week I am going to be focusing on short a and short u. For my activity I am doing a roll and cover game, I got the idea from here, Miss Giraffe's Class, which is a blog full of tons of other great activities to check out! I changed hers slightly to focus just on short a and short u words. I got the template for the cubes here, Cube Template. I created the table on Word and used clip art for the pictures. After my student rolls a word and covers it on the table, they will write it on the table I created (also on Word). I think this would be a great center to have in the classroom as well, they could even play with another student link bingo and see who gets a row across or down first! Here are some pictures! I also included the link to get the Roll and Cover table and the CVC words table below!

These are some of the leveled books I chose for my student!


The student will roll the 3 di and make a word. What ever word they make they will cover the corresponding picture. Then they will write the word on the table. Here is the link for the Roll and Cover table and CVC words table! Roll and Cover Tables


Saturday, September 19, 2015

Science Lesson

For one of my classes this semester we have to do a thematic group lesson plan using STREAMS. So using one children's book (my group chose The Day the Crayons Came Home by Drew Daywalt) we had to pull Science, Technology, Reading, Engineering, Arts, Math, and Social Studies out of the book. My lesson is for Science and 2nd grade, but can also be connected to the Arts. I got the idea for my activity from Pinterest, specifically from Learn, Play, Imagine (which is an awesome blog). I'm connecting my lesson to the standards, 
S.K-2.C.1.1.1: Describe basic changes to properties of matter (e.g. formation of mixtures and solutions, baking and cooking, freezing, heating, evaporating, melting.
S.K-2.A.2.1.2: Describe outcomes of an investigation.
S.K-2.A.2.1.1: Understand that making a change to an investigation may change the outcome(s) of the investigation.
3.1.2.C4:
·        Distinguish between scientific fact and opinion.
·        Ask questions about objects, organisms, and events.
·        Understand that all scientific investigations involve asking and answering questions and comparing the answer with what is already known.
·        Plan and conduct a simple investigation and understand that different questions require different kinds of investigations.
·        Use simple equipment (tools and other technologies) to gather data and understand that this allows scientists to collect more information than relying only on their senses to gather information.
·        Use data/evidence to construct explanations and understand that scientists develop explanations based on their evidence and compare them with their current scientific knowledge.
·        Communicate procedures and explanations giving priority to evidence and understanding that scientists make their results public, describe their investigations so they can be reproduced, and review and ask questions about the work of other scientists.

 Along with the experiment I am focusing on the Scientific Method, I created a graphic organizer for the students to complete as I do my lesson and we are going to create an anchor chart together as well. I liked this concept because I thought it would be great for in a real classroom to have each student complete a graphic organizer of the Scientific Method that they can look back to, but have an anchor chart that we created as a class to hang up for future reference. Attached below is my graphic organizer and some pictures of the experiment!

First for the experiment you will need
  • Baking Soda
  • Vinegar
  • Food Coloring
  • Cups
  • Some type of container or pan to catch the explosion
In the two cups that are placed in the silver pan I put baking soda into them, enough to cover the bottom of the cup. Then I filled two separate cups with vinegar and added about 5 drops of food coloring in each. For my lesson I am focusing on primary colors mixing together so I chose yellow and blue to create green.


Then I poured the two cups of vinegar with the food coloring into the cups of baking soda to create the explosion.


I am also focusing on how the colors mixed together to make green for my lesson.